

This week, I have some more ideas to get more out of your punches, another layered flower and a banner. I used Kaleidoscope Brites cardstock again this week.
again this week.

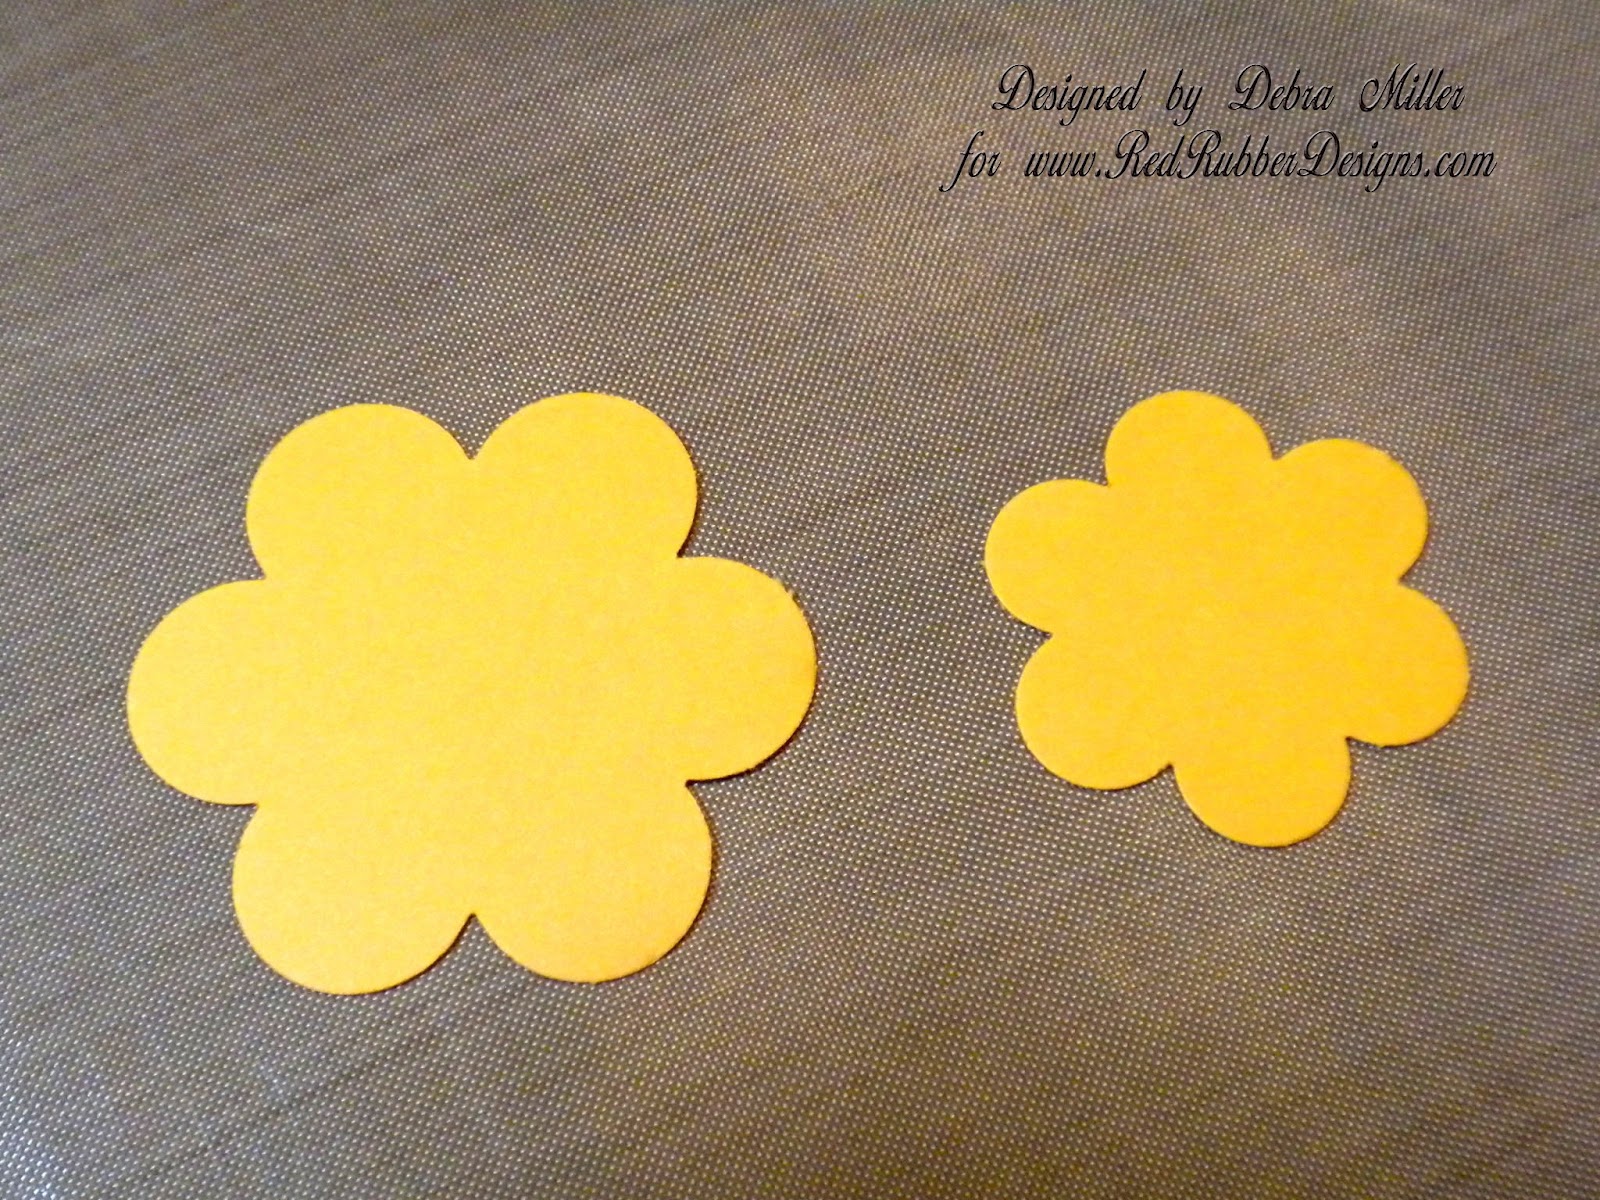
This time I cut the flowers into 6 petals.

I gently formed the petals to give them some dimension.

I used a large glue dot and placed the larger petals
on the glue dot, leaving gaps between the petals.

Then added the second layer of smaller petals.

Then I added a button to the center of the flower.

To make the banner, I used a 1-3/4 square punch.
I added a paper ruler to my punch to make sure
it is even and centered when I punch.

When the corners are at equal lengths on the ruler
the cut will be centered and even on either side.

Here is the punched banner.


I added the sentiment "Gratitude to God" on vellum. It has been a long time {many years} since I've used vellum. The vellum RRD carries is absolutely perfect for stamping. The sentiment came out perfect. It is crisp and clear and sheerness of the vellum does not weigh down the piece.

I added some Mia's Cottage ribbon and
the flower to the banner.
The finished page.
Supplies --
Scrapbook supplies are on sale all month - 20% off at Red Rubber Designs.
Challenges:
Cupcake Inspiration - Photo Inspiration

Crafting When We Can - Summer Fun
Stampin' Sisters in Christ Challenge - Banners or flags
Psalm 46:10 "Cease striving and know that I am God; I will be exalted among the nations, I will be exalted in the earth."
Thanks for stopping by...
Blessings,
Deb
Fabulous page and great tutorial!
ReplyDeleteSarah x
Love the flower tutorial and the banner! So glad you shared with us at Great Impressions Stamps!
ReplyDeleteI like your tutorial. I think your page should be a card. I may consider using scenery photos on some cards. That looks so pretty.
ReplyDeletelovely page, great colors to, thanks for sharing at cucpake inspirations
ReplyDeleteTina
sweetie dt
That bright yellow flower sure adds a touch of sunshine to a beautiful summer layout. Nicely done!
ReplyDeleteYour composition is excellent! Nicely done and what fun tutorials!
ReplyDeleteA very cheery page...love the bright sunny flower and the picture with the yellow chair. the sentiment is very cool too!
ReplyDeleteA beautifully calm and serene picture Debra. The vibrant papers you have used really reflect the gorgeous colours in your photo.
ReplyDeleteThank you for sharing your wonderful work with us at Crafting When We Can Challenges. :-) xx
Beautiful card I love your design and colours.
ReplyDeleteThanks for joining us at Crafting When We Can
caz
Oh what a Darling Cheery Layout! Love the dp's! Super tutorial too Debra! And it looks like I need a square punch! I have one that will work for the Terrific flower you created..8-) but alas, I have no square punches..
ReplyDeleteyet.. 8-)
Hugs
Shannon
Love the pretty colors. I liked seeing how you made your flower and how you used the square punch. Note to self, add square punch to wish list! Thanks for sharing with the stampin' Sisters in Christ Challenge. I hope you are having a blessed week.
ReplyDeleteVery pretty! Your flower is awesome and I love your papers! That photo is making me want to head outside today, but it's too hot! :) Thanks for sharing this with us at Stampin Sisters in Christ! Have a blessed day! ~H
ReplyDeleteLove your flowers!
ReplyDeleteA very nice layout. Good flower tutorial but best I liked your banner. What a great idea to cut the banner tail. Will certainly be using that hint
ReplyDeleteGorgeous Layout and I love the flower! Thank you so much for joining in with our challenge at Quirky Crafts Challenge Blog
ReplyDeleteLove the flower and the 'how to' ! thank you for joining Quirky Crafts this Challenge!
ReplyDelete(Lyn))