Showing posts with label Fancy Fold. Show all posts

Saturday, December 26, 2020

Taylored Expressions - Let Us Adore Him


Happy Saturday!!

Hope you had a very blessed Christmas yesterday.  

Today, I have my 2020 Christmas card.  The last several years my Christmas cards were blue, white, silver and cream with a Nativity or Bethlehem theme.  This year, I wanted to change it up, something red and green.  

I saw this "Let Us Adore Him" set at Taylored Expressions and I knew this was the card this year.  A tree with a nod to the manger.  The image is a 3 piece red rubber stamp.  I made it into 4 stamps, cutting the heart from the crib base.  
It was precut and shaped in such a way it was pretty easy to line up the verse within the tree foliage, even though it is not indexed or clear.

The tree was stamped using PaperTey Ink Olive Twist ink, the 'O Come let us adore Him' verse and heart is PTI Pure Poppy.  The manger crib is PTI Dark Chocolate.  Then added a gem at the top of the tree for the star.

The cardstock is also PaperTrey Ink - White for the base card and image panel.  Pure Poppy or Olive Twist for the layered border of the image panel depending on the background paper.  

I used a gate fold for the base card and added a patterned cardstock panel (2" x 5.25") on each flap.  The card is an A2 size - 4.25 x 5.5" card.  The gate fold was created scoring 2-1/8" in from each end of the 8.5" length of the 8.5" x 5.5" base card (half sheet).  

The 12 x 12 pattern cardstock is from Echo Pack - I love Christmas Collection Kit.  I used 10 of the 12 sheets for the cards to make 60 cards total.  I cut strips 2" x 5.25", which gave me 12 panels for 6 cards in each of the 10 patterns.  

I saved the 1.5" x 12" strips left over and made some extras cards, adding a some red cardstock at the middle of the gate fold to fill the gap.  A little modification to stretch the patterned cardstock.


Inside, I created a single panel verse, printed on the computer in red
and added a stamped Merry Christmas in olive ink.  Using all the stamps in the set on this 1 card.   

 
Thanks for stopping by...
Blessings to you,
Deb

Friday, April 5, 2013

Little Miss Muffet - Tea Party Tutorials

Today, is day 2 of Simply B Stamps (SBS) and Little Miss Muffet Stamps (LMMS) combined "Tea Party Release".  If you missed yesterday's release you will want to check out all new images available at the SBS New Items and LMMS What's New sections of the stores! 
Some of the LMMS design team and several guest designers are sharing tutorials and inspiration posts today.  But before I get to my tutorial -- did mention there are prizes?!?!  Woohoo!  Each day you'll want to check both Simply B Stamps (SBS) and Little Miss Muffet Stamps (LMMS) blog for a list of prizes!

Today, LMMS has two rubber stamps to go to two lucky winners - simply leave a comment at the LMMS blog for your chance to win!  These lucky winners will receive this image below... la Jeune Fille à l'Eventail in a Rubber Stamp! 

As an added bonus with every LMMS purchase, you will receive this exclusive digi stamp for free ... Piccino Mermaid!

Now for my tutorial...
 
I have several "how to's" to share - a coloring technique called spotlighting, a fancy fold {twisted easel} and I also created a few videos if you are interested in learning how to manipulate digital images.   
For the image, I created a party scene using an image of each the LMM artists - Pollycraft (Sonny Hunnycloud For You), Little Miss Muffet (Agent Cupcake), Simply Sophia (Eglantine Faerie) and a new Simply Betty image "Mad Hatter Betty". 

I also used some of the party images from the new LMM Tea Party release.  I printed 2 full images out, plus some cropped images of the same scale. (Video below showing what I printed to create this card)
I colored the image in shades of grey - W1, W2, W3, W4, W5.

I had never colored the rest of the image before.  Traditional spotlighting, that I've done in the past and featured on Splitcoast as a technique is usually an uncolored image with a colored highlight.   

This idea, to color the rest of the image in greys, came from a card made by Faye {LMM's awesome DT coordinator}.  She had a card on her blog in February which I thought was very clever and striking.  You can see her card HERE.  
  I also printed out a cropped image of the Mad Hatter Betty image and punched it out with a 1.5" diameter punch.
 I colored Mad Hatter Betty in full color.
E00, E11, E13, E21, E33, E35, E37, YG03, YG13, YG23, YR02, YR04, YR07, YR12, YR15, YR18, YR31, R01, R22, R24, 0.
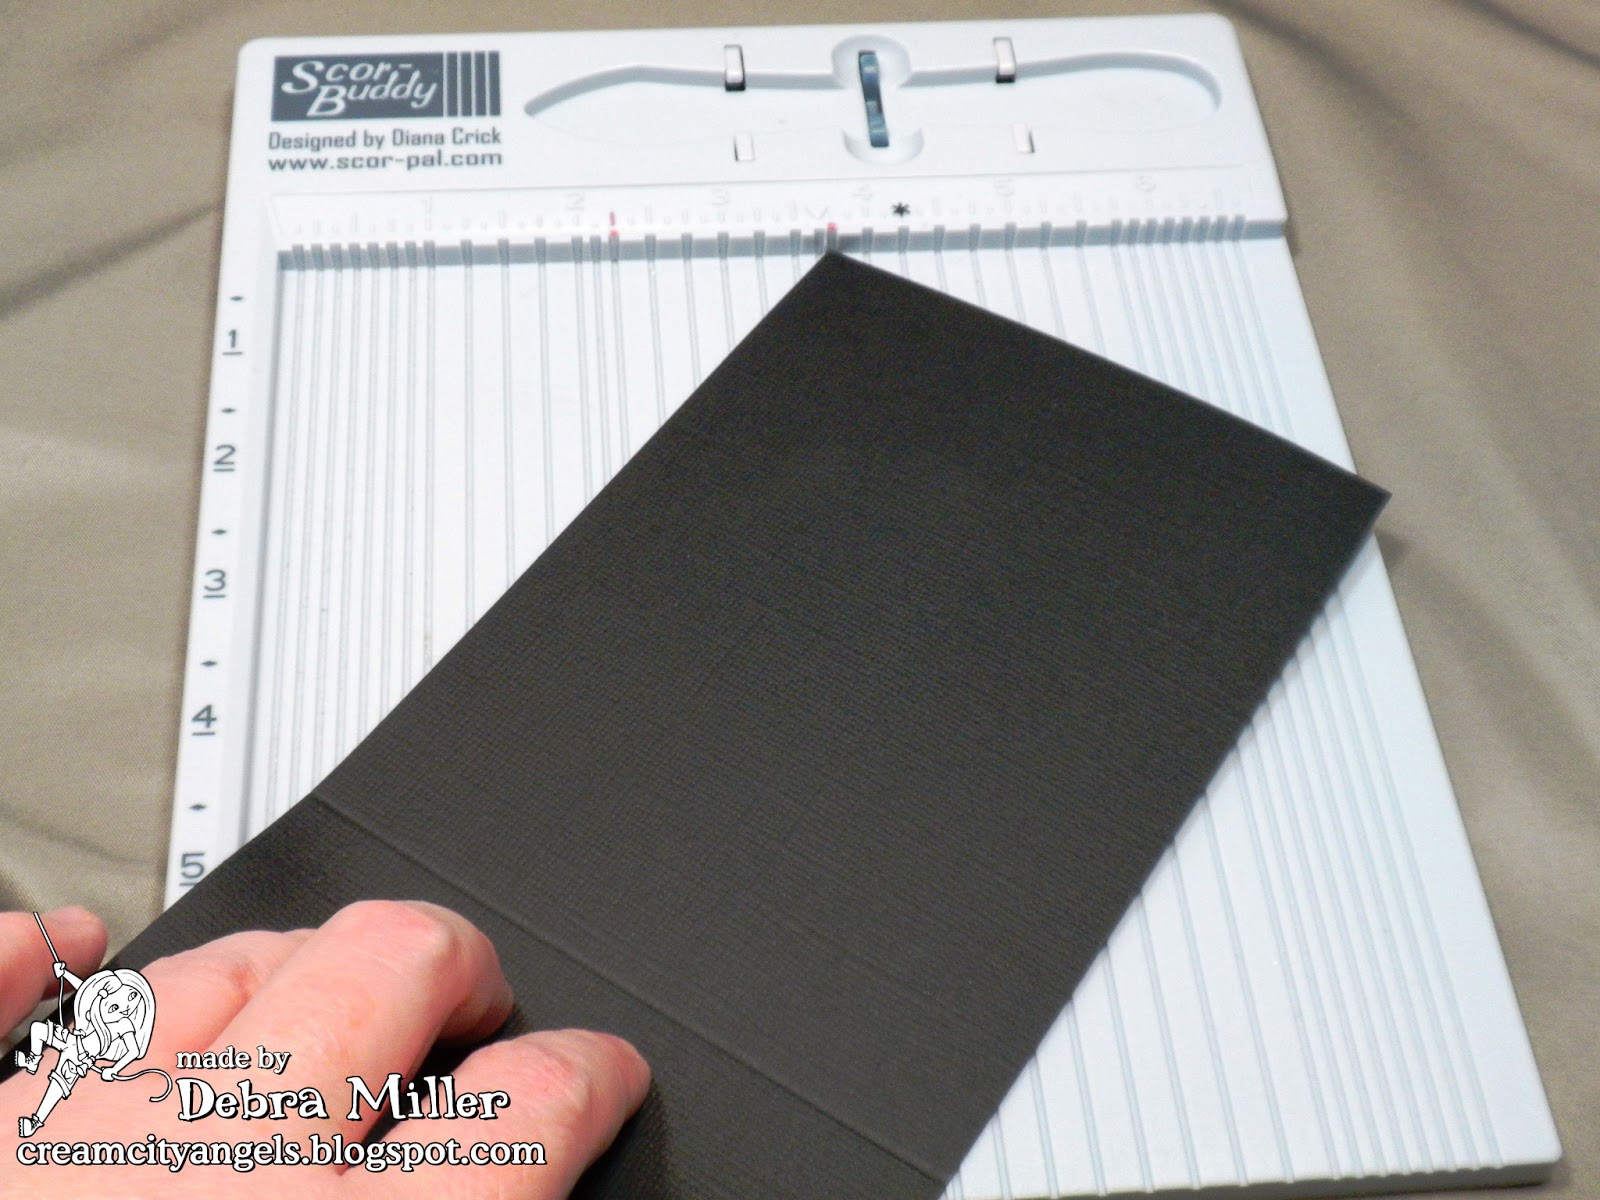
Next, creating the fancy fold base card.  This is a twisted easel fold.  It is very simple.  I cut an 8.5x11" sheet of Bazzill Raven cardstock 4.25" x 11", in half length ways.  I scored it at 5.5". 
 
I lined up the top corner and 
the bottom corner at the score line. 
  I scored the front of the card corner to corner.
This is the base card fold.
I added double stick tape to the bottom half of the card, 
away from the edges.
Then, I placed the finished matted image on the front of the base card.  The paterned paper is Basic Grey Piccadilly.
Inside, I matted a couple more sheets of Piccadilly patterned paper, to tie the spotlight colors in and I added a sentiment which acts as a stop for the card.  Welcome to the party Betty!

Lastly, the video tutorials...

Over the last couple years, I've been asked a lot of questions from my TAC stamp customers who wanted to try digis.  TAC actually had a digi store briefly in 2011. I've only been using digis about two years myself, but have learned a lot from design teams and online.  Until now, I really didn't have an effective way to communicate how to do something using software. 

There are lots of ways to do things, lots of programs you could use, but this is one way to manipulate digital images.  Hope you find the videos useful. 

Here are the videos...


Wondering how I made these videos?  You can too!

The Screencapture software I used is "Screencast-O-Matic".  There is a free version, but I ended up buying a $15/yr subscription to get the audio and caption features of the program.  I really like this software.

The videos were edited using Microsoft Live Movie Maker a Free program.  Very useful, I found this program when my mom asked if I could make a video of the pictures from my nieces wedding.  A very fun program to play with!  This is how I added the opening title page, credits etc... 

I created a Cream City Angels YouTube Channel (button on left sidebar) where you can find all my video creations.  Perhaps there will be more coming :D  I do have a few more ideas.  I'm open to suggestions too. 

Lots going on with this combined release...

Day 1 (April 4th) - Release Blog Hop (click HERE to start)

Day 2 (April 5th) - Inspiration and Tutorials (SBS and LMMS)

Day 3 (April 6th) - Guess Who at SBS and Scavenger Hunt at LMMS 

You have until April 10th to play along and  LMMS Winners will be announced here on April 11th.


Challenges:
Ladybug Crafts - Anything Goes 
Loves Rubberstamps Challenge - Anything Goes
Papertake Weekly - Anything Goes 
Through the Craftroom Door - Anything Goes 
Vickie's Challenges - Anything Goes 
A Little Bit Crafty - Anything Goes
Sparkle N Sprinkle - Use a Digi
The Crafting Cafe - Let's Celebrate
Make it Monday - Anything Goes
Songbird Challenge - Colored Hair 

Thanks for stopping by...
Blessings,
Deb